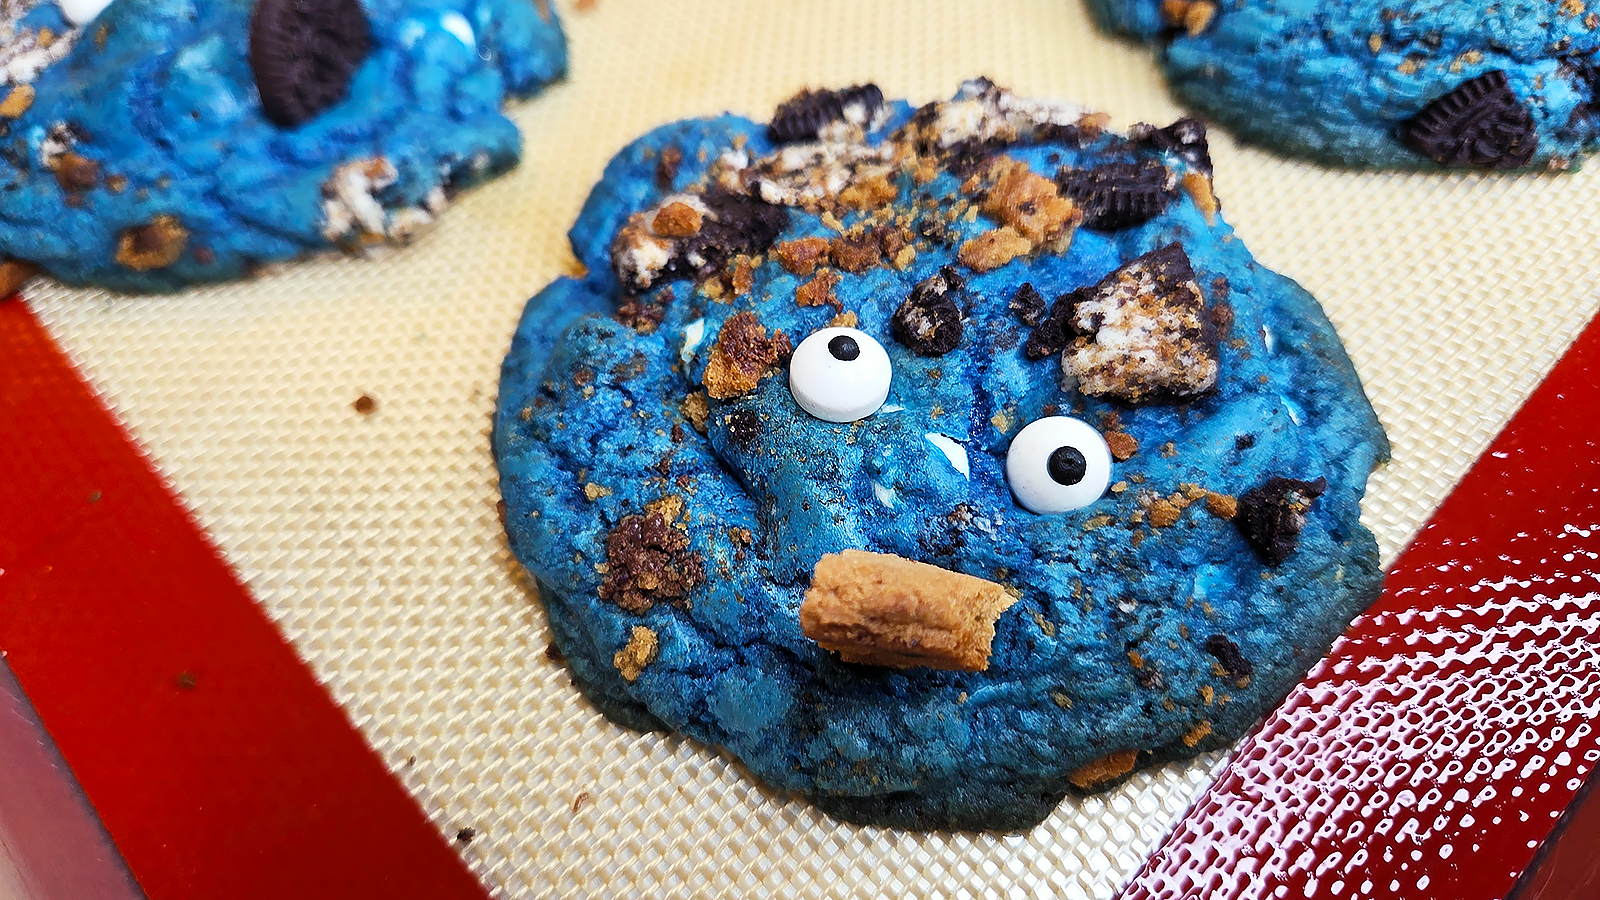
These Cookie Monster Cookies are bright blue, ultra-soft, and packed with mix-ins—white chocolate chips, chopped Oreos, and cookie pieces in every bite. They bake up thick, chewy, and bakery-style, making them perfect for kids’ parties, birthdays, or anytime you want a fun, over-the-top cookie. Customize the mix-ins and add candy eyeballs on top for the full Cookie Monster effect!
Why You’ll Love It
- Fun & Eye-Catching — That bright Cookie Monster blue color steals the show on any dessert table.
- Loaded with Mix-Ins — Every bite has white chocolate, Oreos, and cookie chunks for incredible texture.
- Party-Perfect — Easy to make jumbo-style, customizable, and great for birthdays or bake sales.
The Recipe
Cookie Monster Cookies
Yield: About 18–24 cookies (depending on size)
Time: 15 min prep + 10–12 min bake + 10 min cool
Level: Easy
For the boldest color and best texture, use gel food coloring and avoid overmixing the dough.
Ingredients
- 1 cup (226 g) unsalted butter, room temperature
- 1 cup light brown sugar, packed
- ¾ cup granulated sugar
- 2 large eggs, room temperature
- 2 tsp vanilla extract
- Blue gel food coloring (enough for vibrant Cookie Monster blue)
- 3 cups (≈360 g) all-purpose flour
- ½ tsp baking soda
- 1 tsp baking powder
- ½ tsp salt
- 1½ cups white chocolate chips
- ¾ cup chopped sandwich cookies (e.g., Oreos)
- ¾ cup chopped chocolate chip cookies or mini cookies
- Optional: white chocolate discs or chunks for a gooey stuffed center
- Optional: candy eyeballs for decoration
Equipment
- Baking sheets
- Parchment paper or silicone baking mats
- Large mixing bowl
- Hand mixer or stand mixer
- Spatula
- Measuring cups and spoons
- Small bowls for mix-ins
- Cooling rack
Instructions
- Preheat your oven to 350°F (175°C). Line baking sheets with parchment paper or silicone baking mats.
- In a large mixing bowl, cream together the butter, light brown sugar, and granulated sugar until light and fluffy, about 1–2 minutes.
- Add the eggs and vanilla extract, mixing until fully combined.
- Add blue gel food coloring a little at a time, mixing until you reach a bright Cookie Monster blue color.
- In a separate bowl, whisk together the flour, baking soda, baking powder, and salt.
- Add the dry ingredients to the wet mixture and mix on low speed until just combined. Do not overmix.
- Fold in the white chocolate chips, chopped sandwich cookies, and chopped chocolate chip cookies until evenly distributed.
- Optional stuffed version: Scoop about 2 tablespoons of dough, flatten slightly, add 2–3 milk chocolate discs or chunks to the center, then wrap the dough around and seal.
- Roll dough into 2–3 tablespoon balls (make them larger for jumbo cookies). For extra texture, you can roll the outside of each ball in additional cookie crumbs.
- Place 6–8 dough balls per tray, leaving plenty of room for spreading.
- Bake for 10–12 minutes, or until the edges are set and the centers still look slightly soft. They will continue to firm up as they cool.
- If using candy eyeballs, gently press them into the tops of the cookies immediately after they come out of the oven.
- Let cookies cool on the baking sheet for 5–10 minutes before transferring to a cooling rack to cool completely.
Allergen note: Contains dairy, eggs, wheat (gluten), and soy (from
sandwich cookies and chocolate).
Pro Tips
- Use gel food coloring (not liquid) so the dough stays thick and the color stays vibrant.
- If the dough feels too soft or your cookies spread too much, chill the dough for about 30 minutes before baking.
- Customize the mix-ins with different cookie flavors, candy pieces, or extra chocolate chips.
- Store cookies in an airtight container at room temperature for 3–4 days, or freeze for longer storage.
Copyright 2025, Rainbow Fudge Company
For personal home use only. Please do not reproduce, sell, or use commercially without written permission.
Lovingly developed through extensive kitchen testing and the enthusiastic feedback of our taste-testing customers.
For personal home use only. Please do not reproduce, sell, or use commercially without written permission.
Lovingly developed through extensive kitchen testing and the enthusiastic feedback of our taste-testing customers.